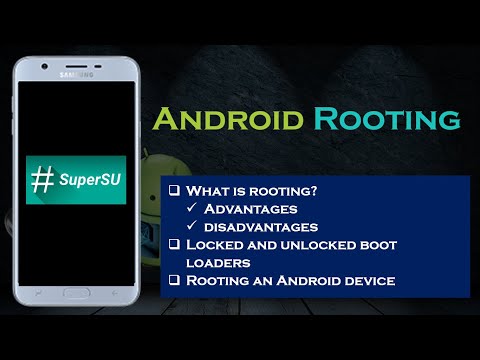
In this section, we will discuss how to root an unlocked Samsung Galaxy J7(2015) which uses Samsung's customized version of Android OS, we will also see the differences between Stock Recovery and Custom Recovery, and finally, we will install a Custom ROM on our Samsung J7 device.
If you don't know what is rooting, then click the below link:
Stock recovery and Custom recovery
Android's recovery is one of the most important concepts for both tech users as well as users who use their phones just for making phone calls and regular surfing. When a user gets an update for his device and applies it, Android's recovery system ensures that it is properly done by replacing the existing image without affecting the user's data.
The Stock recovery image that is usually provided by the manufacturers is limited in nature. It includes very few functions that allow a user to perform operations such as wiping cache, user data, and performing system updates. We can boot our device into recovery mode to do any of those operations specified such as wiping the cache. The steps/hardware keys used for booting into recovery mode could vary from manufacturer to manufacturer.
Custom recovery on the other hand provides more features such as allowing unsigned update packages, wiping data selectively; taking backups, setting up restore points, copying files onto SD cards, and so on. ClockWorkMod is one of the popular recovery images that can be shown as an example of custom recovery images.
As mentioned earlier, some manufacturers provide an official method to unlock bootloaders and some come unlocked. If you bought an unlocked phone that is not on contract, most probably you have an unlocked bootloader.
Warning: Rooting and Custom ROM installations always have a risk of data loss, and worst, bricking the phone, so you should always backup the data before you proceed to root. You can backup your data/contacts and so on, by using Google's sync data option or any third-party app.
Prerequisites
Before we embark on our journey of rooting the phone, make sure you have the following prerequisites in place.
1. Download the Samsung USB driver from the following URL and install it on
your computer:
2. You also need to enable USB debugging by following this path: Settings | Developer options. Your screen might be slightly different based on the Android version you are using, but look for USB debugging and OEM unlock and then enable it:

If you don't see the Developer options, you can enable it by from Settings | About Phone and then tap a few times on Build Number, usually seven to nine times, and go back to the menu and you will see Developer options as shown following.

3. Make sure you already have ADB on your system . Check it by opening the command prompt and typing adb.
4. Connect the phone to the USB cable, and then type adb devices to check if the device is recognized:
5. Once you plug in the cable, you might get the authorization popup Allow USB debugging, please allow it.
Rooting Process
If you are interested in rooting your device, you only need to follow 2 simple steps:
- Installing recovery software like TWRP or CF
- Installing the Super Su app
1. Installing recovery software
1. Odin and Heimdall are two popular ways to install recovery software, like TWRP, or CF.
2. Before we proceed further, we need to download the TWRP recovery img.tar file for J7 from the official site:
Flash the TWRP recovery software Using Odin
Odin is one of the most popular recovery tools for Samsung devices. This section shows the steps to use Odin.1. Download the Odin package, and extract it using WinRAR.
2. click on Odin to open it, and you should see the following screen:

3. We need to put the device into download mode by switching off the smartphone and pressing the volume up, home, and power buttons simultaneously.
4. Once the device boots into the download mode connect the device to your computer using the USB data cable.
5. You will see a warning, accept the Continue option by pressing the volume up button.

6. If you have installed the right USB drivers, you will see Odin's ID: COM in blue text. Otherwise, you need to reinstall the driver or check your cable for any faults.

7. Click on the AP button, and select the TWRP recovery image file by clicking on the AP button. Make sure you enable Auto Reboot and F: Reset Time.
8. Click on the Start button in Odin to flash TWRP. It will take a few seconds to complete and if everything went well, you should see PASS! in green as shown on the following screen. Once the process is complete your phone will restart automatically.

9. Now you have successfully flashed TWRP recovery.
2. Rooting a Samsung Galaxy J7
This section explains the step-by-step process to root a Samsung Galaxy J7.
1. Download Super SU from here, and save it.
2. Connect the device to the computer using a USB cable and use the ADB push command to copy the file to the SD card and unplug the cable once you're done.

3. Switch off your device and boot it into recovery mode by pressing the volume up, home, and power buttons simultaneously. You will see the Team Win Recovery Project (TWRP) screen, click on Install.

4. Select the Updated Super Su Zip file to start the flashing process.
5. Once the installation is complete, you will see the Install Complete message. Click on the Reboot System to reboot the phone.
6. Once your phone starts, you should see Super SU added to your phone.

7. Connect to the device from the system using a USB cable, and check if you can log in as a root user by typing the following command:
A Pop-up request appears on the screen:

8. Congratulations, you have successfully rooted your device:



